What is PushNinja?
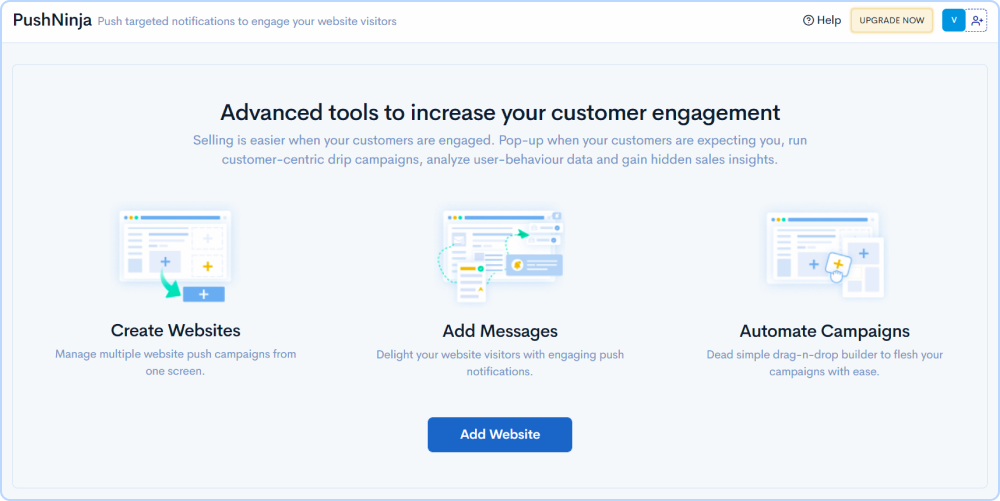
PushNinja by 500apps is designed to let you connect and engage with your customers by creating unique push messages through our visual designer at a very affordable price.
I will show you what PushNinja can do to grow your business and reach all your customers at the same time.
PushNinja offers many ways to help your business grow. Looking for an easy way to analyze your users' behavior data? PushNinja is the right one for you! Plus, you can effortlessly run drip campaigns for your push notifications with just a few clicks.
With PushNinja, you can send unlimited real-time push notifications at the perfect time to build customer engagements and conversions with your users.
You can pick built-in templates to get started in seconds. Use behavioral triggers and advanced trigger events such as product launch offers, Reminders, and promotions to send push notifications to your users.
With PushNinja, you can personalize your push notifications to create a more personal interaction with your users. Deliver, automate and manage those push messages that target your users at the right time to increase customer engagement.
Automate drip campaigns and generate effective marketing leads to convert them into loyal customers. Reach your customers more effectively with advanced analytics for making good decisions to increase user engagement and drive business growth.
Why use PushNinja?
If you're looking for a personalization solution to increase sales and boost customer engagement and provide better insights into your customers than other solutions then look no further, PushNinja is the best solution. You can send messages to your customers even when they aren't using your app or website. You can re-engage customers who haven't visited your app or website recently with personalized messages and target them based on their location or previous actions.
Analyze the performance of push notifications campaigns using PushNinja, you can create more successful campaigns.
Go to the marketing Category tab and click on PushNinja.
How to add a website to PushNinja?
To get started, click the Add your website button. Enter the name and website URL you wish to create Push Notifications and click save.
Integrate your website with PushNinja by adding the script code from the slideout to your website header by clicking the Copy icon. You can also email the script code to your developer by providing the email address and pressing send.
Click Here to get instructions on how to include them on your website. You can also see if the code has been correctly added to the website by clicking the Verify here button.
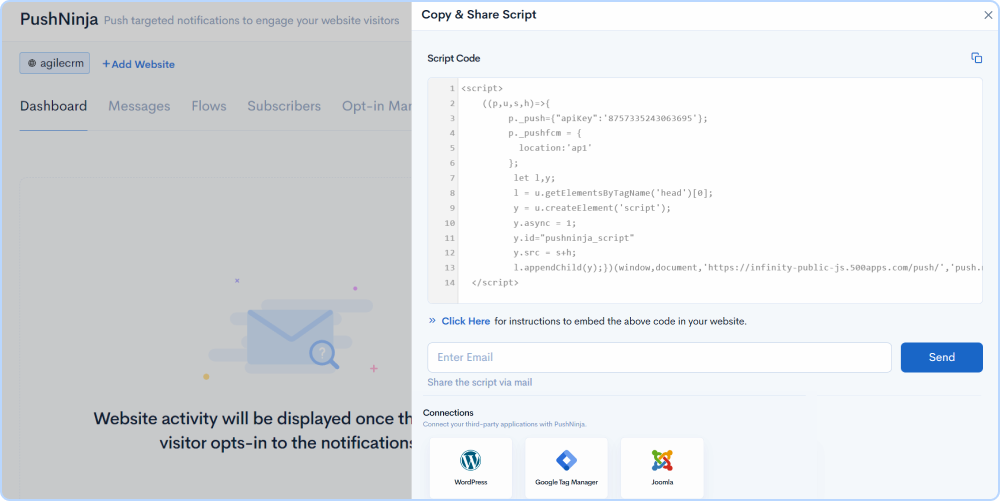
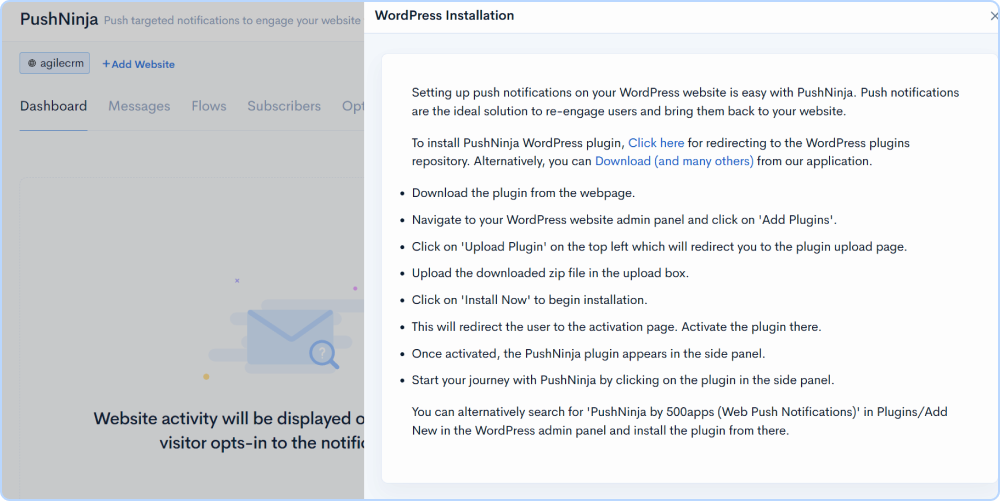
You can use WordPress and Google Tag Manager plug-ins to directly include the PushNinja script.
Click on the WordPress card to learn how to combine it with PushNinja and learn how to link WordPress with PushNinja by clicking on the Google Tag Manager card.
Edit and Delete at any moment using PushNinja just hover over the website name and click either edit or delete icons whichever you prefer. Click the Share Icon lets you share the script code to be inserted into a website.
By default, you will be navigated to the Message Tab
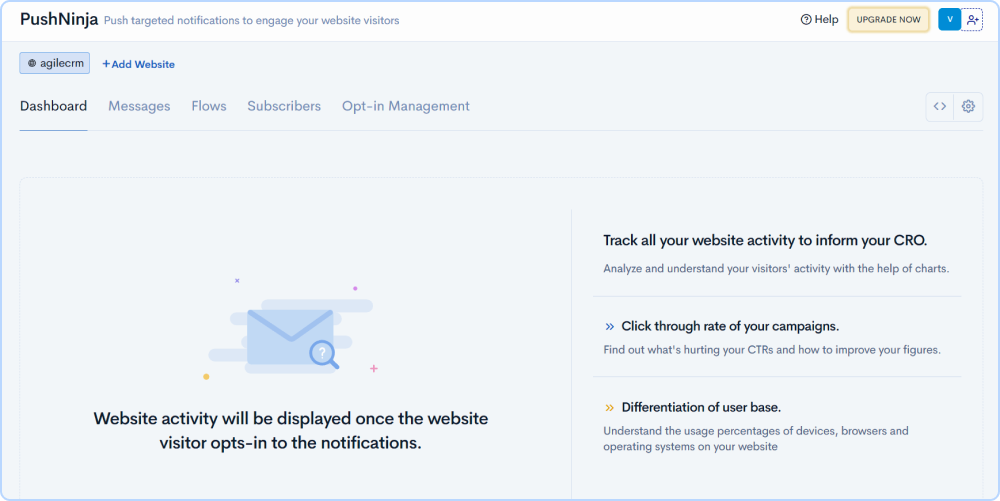
Dashboard
PushNinja allows users to provide an overview of your drip campaigns to measure the success of the campaigns.
Click on the Dashboard tab and you will be able to track drip campaigns and push notifications activity, and displays the website visitor opt-ins to the push notification.
To view data during a particular period, select the date range from the drop-down menu and click apply.
Data on a particular browser's push notification can be viewed by selecting the browser from the drop-down and view the data on the push notification of a particular device by selecting the browser from the dropdown. Also, based on the most frequently used devices, you can customize your push messages and use them effectively.
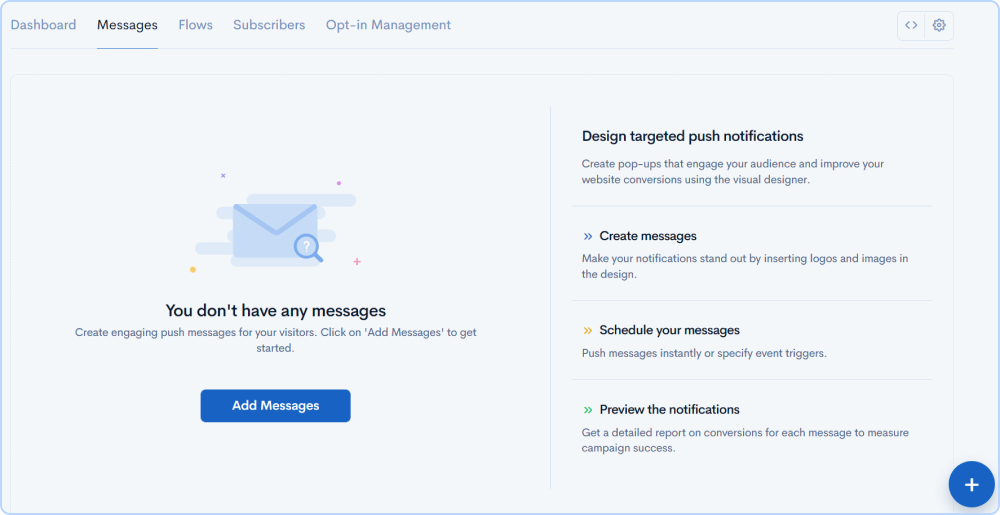
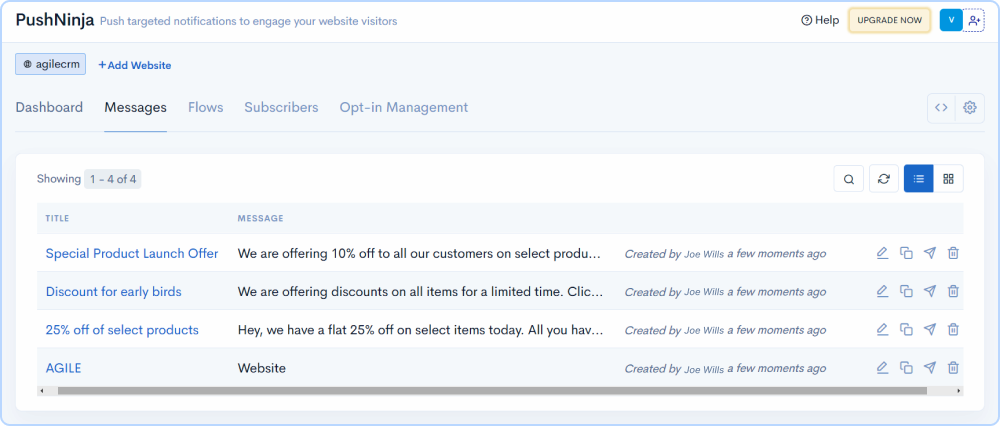
Messages
Let's get started to make the push notifications
Navigate to the Messages tab
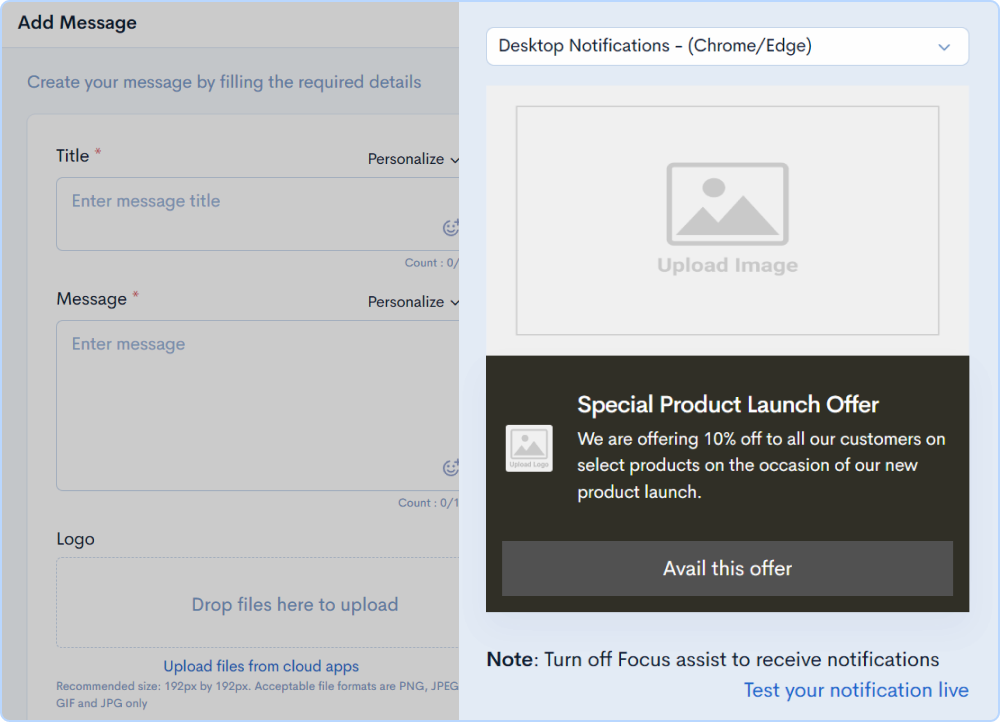
Click on 'Add Messages' or the plus icon button in the bottom right corner to get started.
Here PushNinja provides a wide variety of templates for push notifications based on the category and occasion.
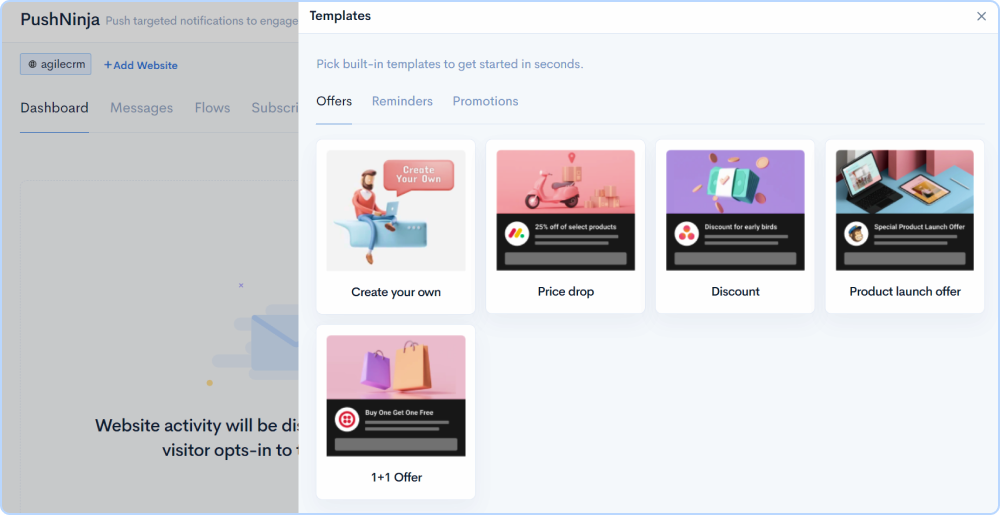
- Select the desired push notification from the tab by clicking on the cards
- You can also create your own custom push notifications message by clicking on the Create your card
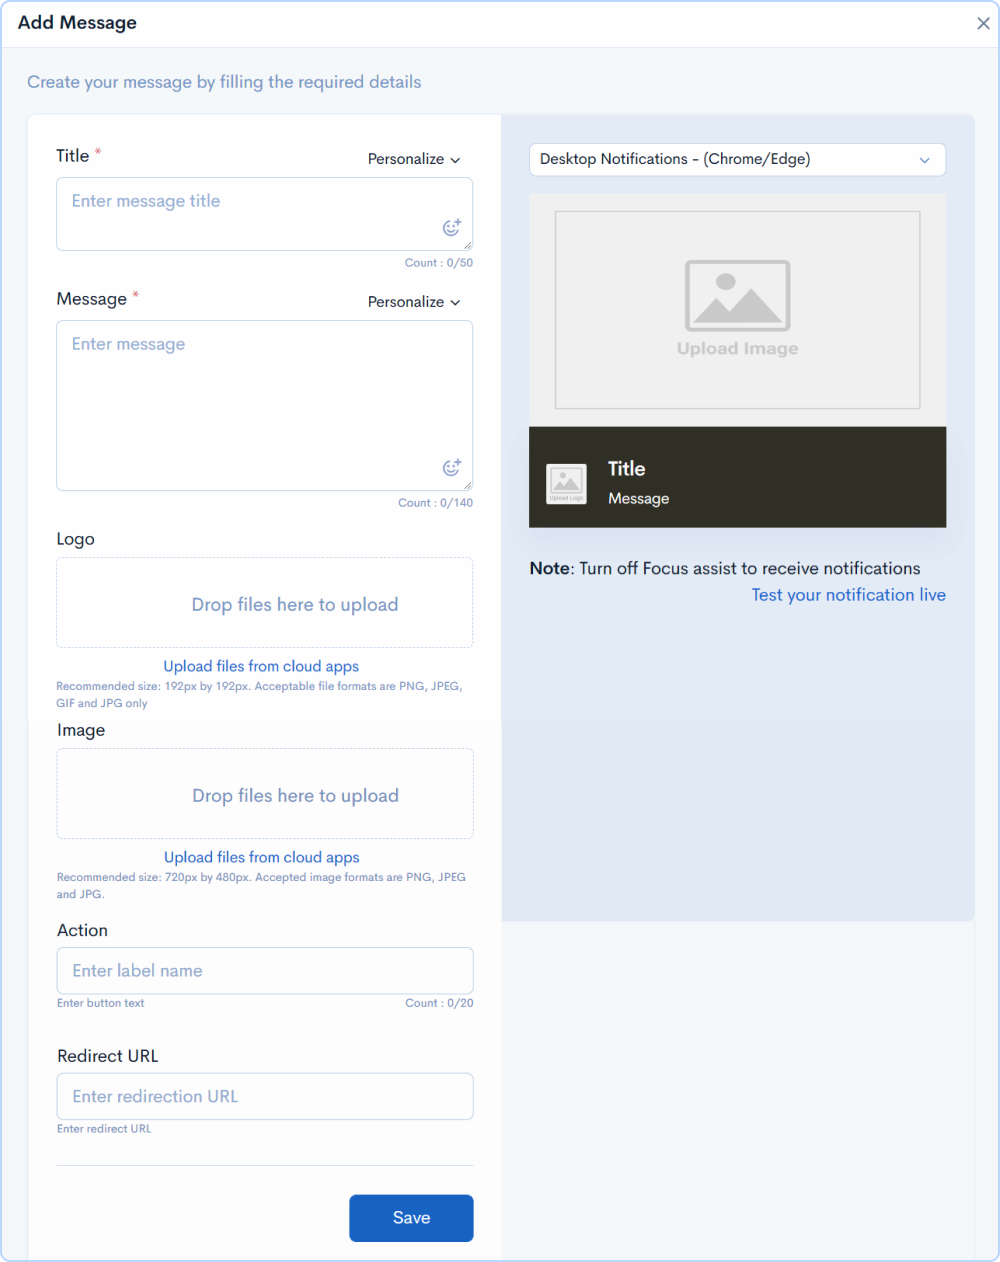
- You can customize your push notifications based on the end-user browser
- Select the browser from the dropdown
- Next, Enter the title
- And the message of the push notification
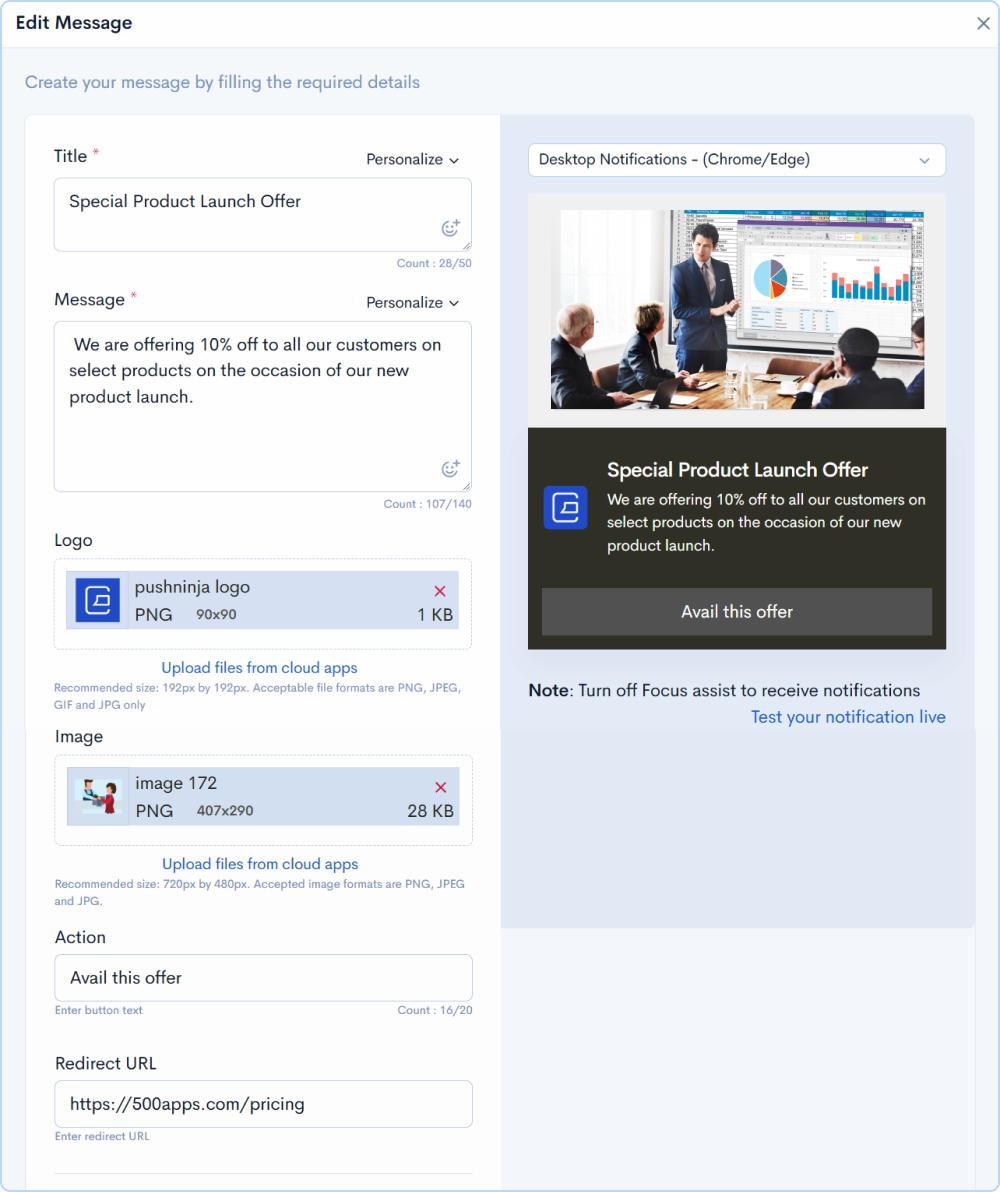
PushNinja also allows you to add company logos to the push notifications.
You can upload logos from local computers as well as from cloud applications.
You can also add images to the PushNinja application
You can upload Images from local computers as well as from cloud applications.
- Now let's enter the text for the action button
- For example, here I am entering sign up
- And you can also enter a redirect URL (Where do you want the user to be redirected to on clicking the call to action button?)
- You can test the push notification by clicking on test your notification live.
- Select the Operating system Browser from the dropdown to test the preview of the push notification in that browser.
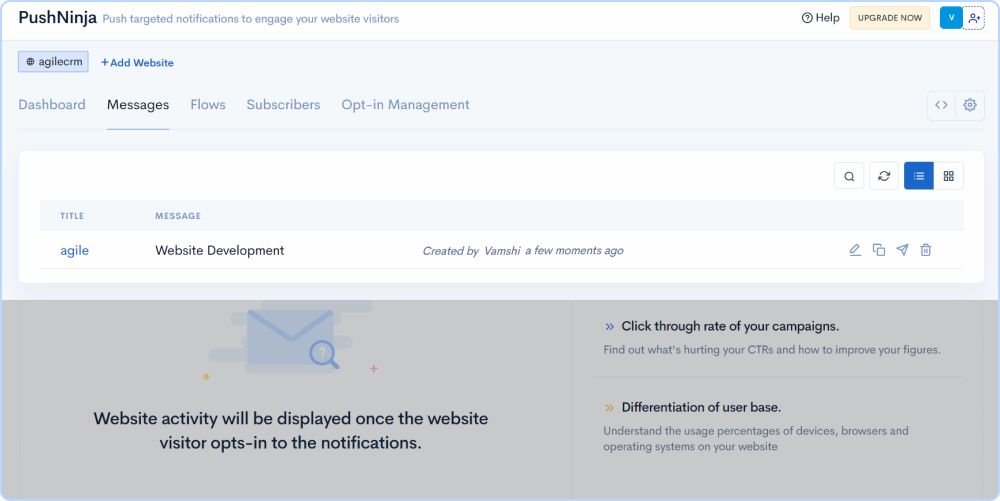
- After you are done editing the push notification, then click on save.
- You can see that the push notification has been successfully created in the messages tab.
- You can create a duplicate of this push notification
For example, you want to create the same push notifications for different chrome browsers
- By clicking on the Duplicate icon
- And making the necessary changes you want to the push notifications,
- And click on confirm once the push notification is created.
- Start sending it manually as well as select a filter like a calling subscriber
- Click on all subscribers for now
- Select send now or schedule to send at a later date and time
- Select send later
- Select the time and date from the drop-down to send the push notification
- Click on send
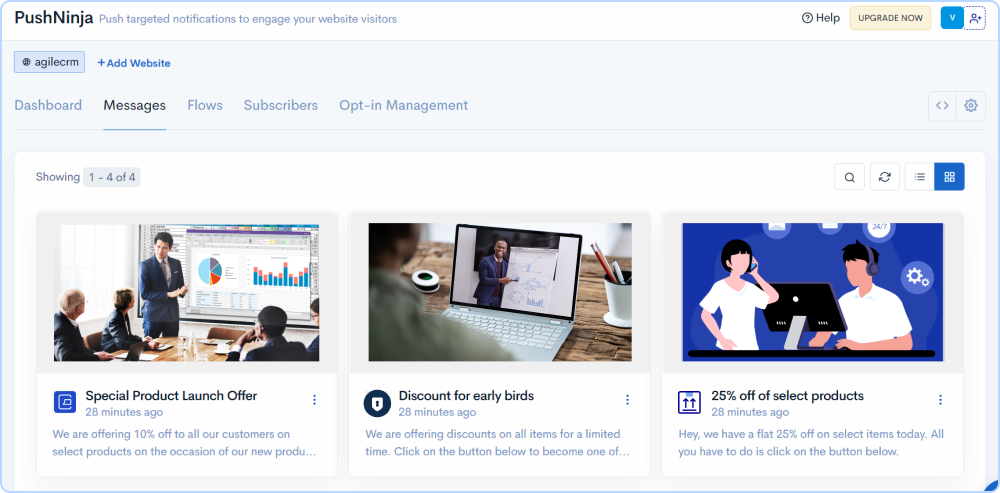
- Click on the grid icon to view the push notifications in the card view
Search
To Search messages by name instantly.
List and Grid view
View messages in the list or grid view, from any view you can edit and delete a message anytime.
Grid View:

List View:
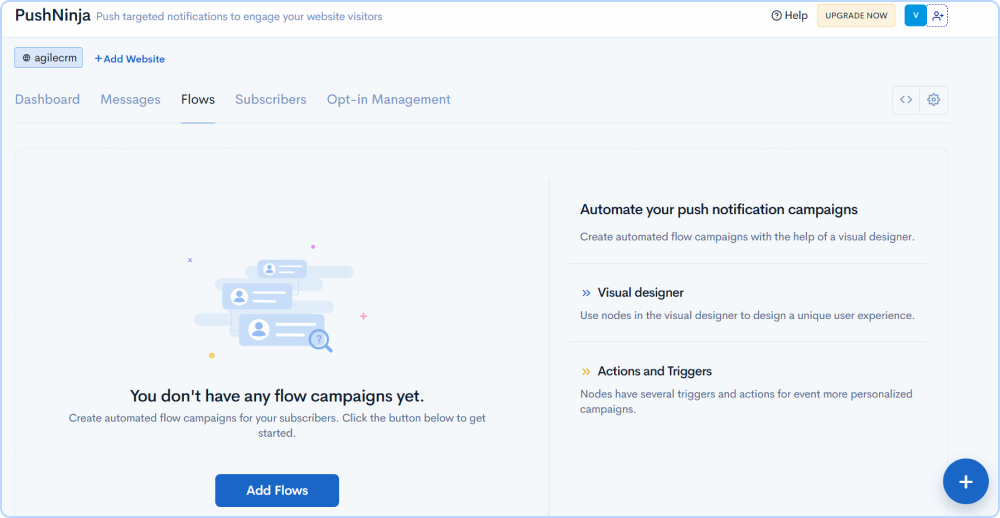
Flows
PushNinja provides the option to customize and automate your push notification drip campaigns.
- Click on the flows Tab.
- Now let's start building the flow campaigns.
- Click on add flows or the plus button on the bottom right-hand side to get started.
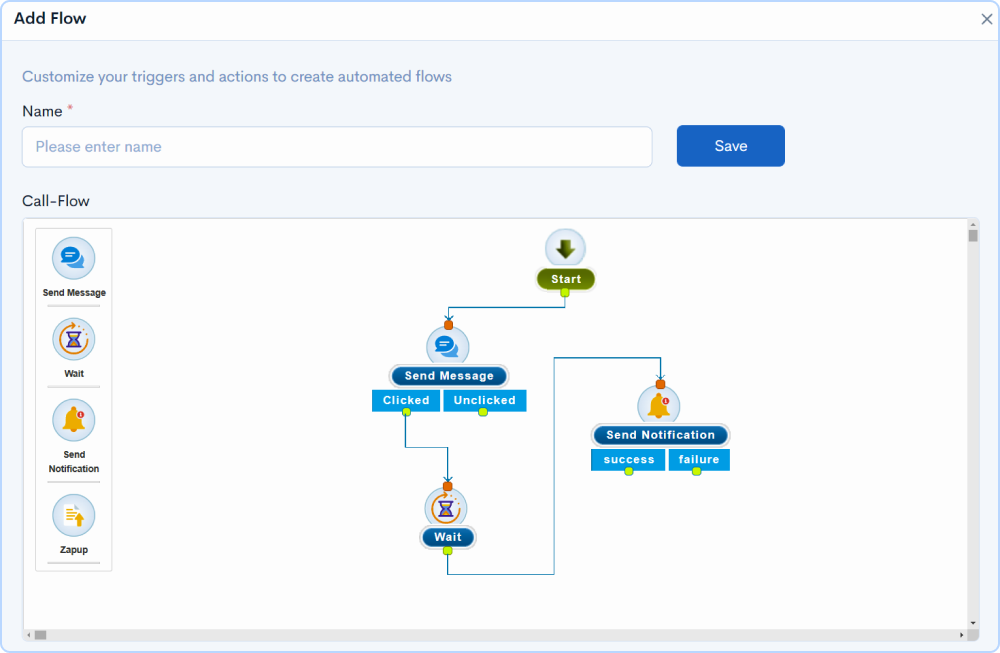
Visual builder
In the visual builder, there is a list of all-powerful nodes. Begin by selecting the desired nodes; you can drag and drop them into the designer or click on the node.
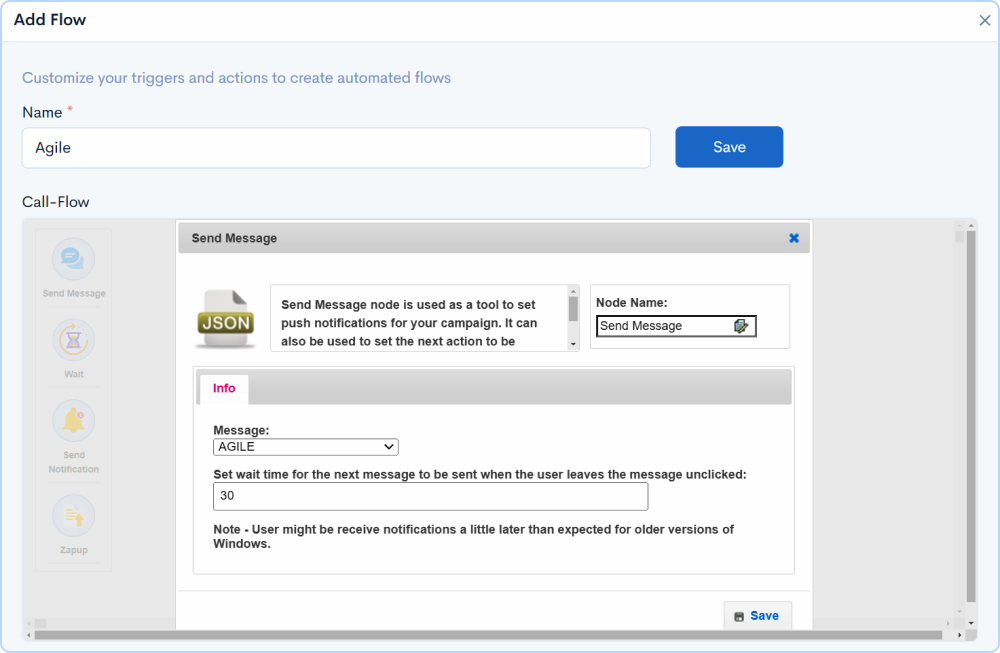
Send Message
- Now let's look at a powerful node called Send Message
- This node enables you to send push notification messages to subscribers
- Select the push notification message from the drop-down
- And enter the wait time in minutes
- And click on save
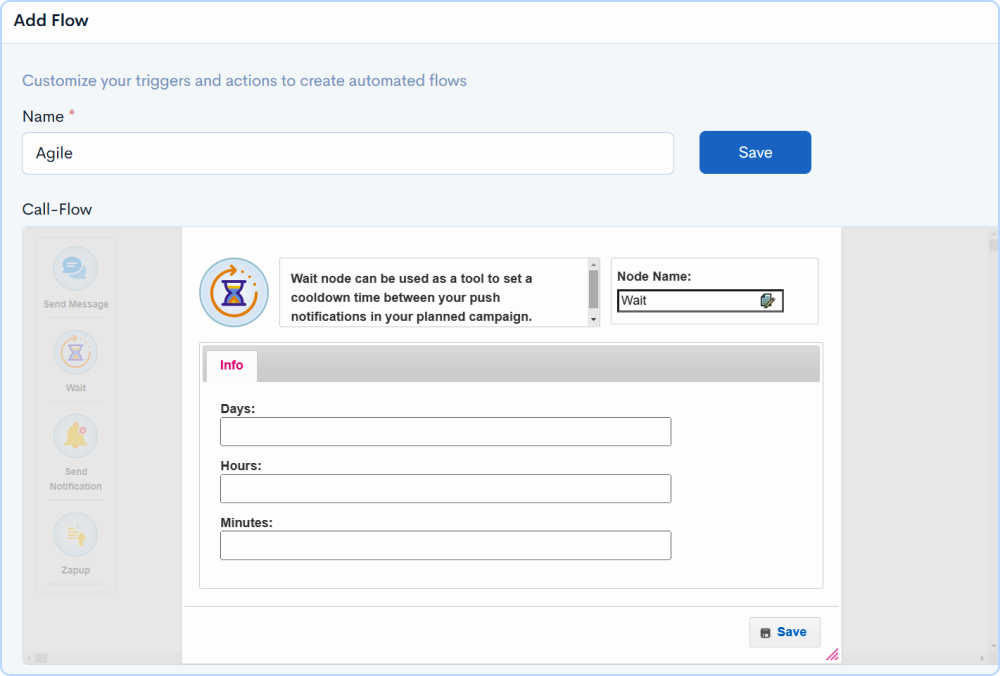
Wait
- Now let's select the Wait Node and configure the days, hours, and minutes for the wait time limit
- And click on Save.
- This node enables you to configure wait time, and once the wait time has expired, it will send a validation message for a particular message to the agent.
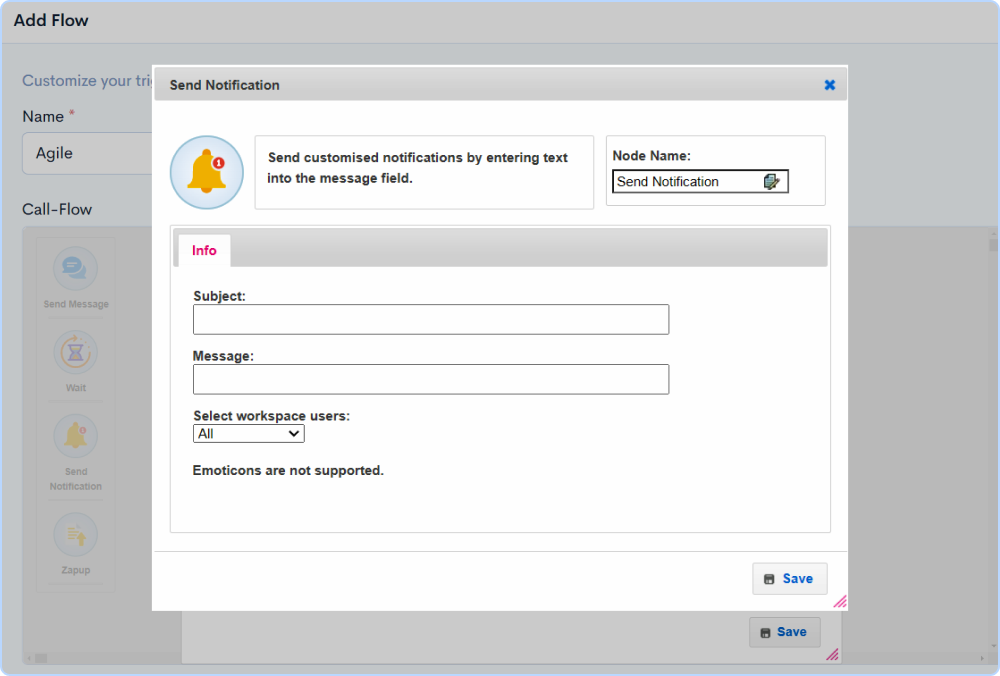
Send notification
- Now let's select the Send notification node.
- You can use the Send notification node to send a message to all your workspace users about a newsletter or subscriber.
- Enter the subject and the message for this notification you want your workspace users to see.
- You can also select which workspace users should see this message from the drop-down.
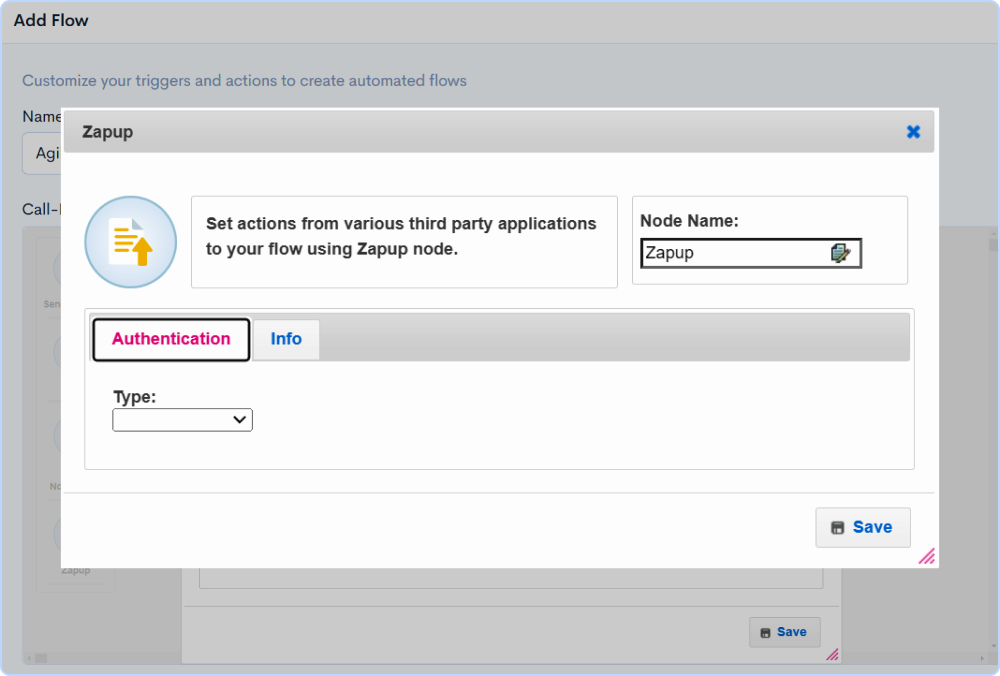
ZapUp
- Now let's select the Zapup Node.
- ZapUp is another powerful app that we have built and is included in the subscription.
- You can find ZapUp under the Productivity category. Using this node you can set up triggers in the workflow to integrate with third-party applications.
For example, Connect PushNinja with your CRM applications and add subscriber details to your CRM applications automatically.
After you are done creating the flows, < Enter the name < And click on save < You can see that the push notifications have been successfully created.
- Click on the push message icon to send the workflow.
- Select the users you want to send the push notification to.
- PushNinja allows you to send to all your subscribers or the subscribers who you have marked important with the star.
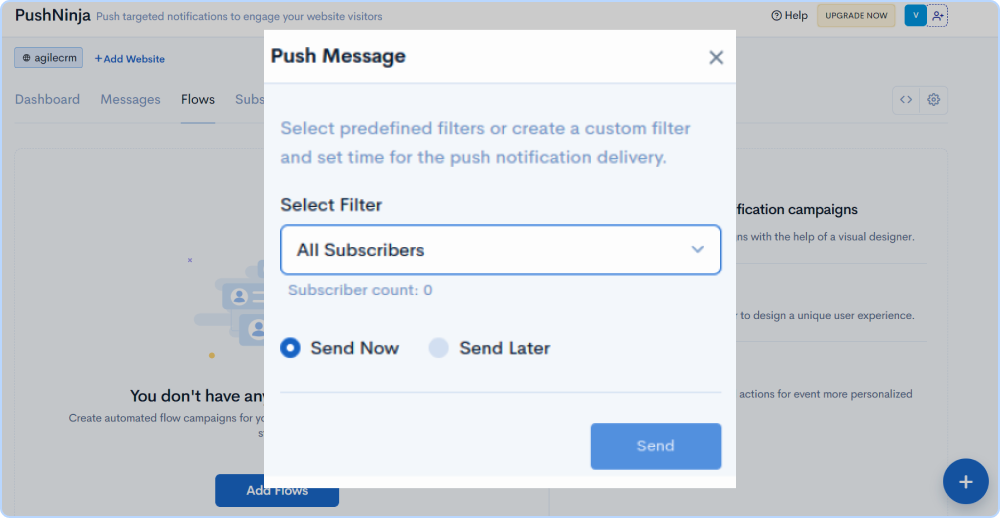
- Let's select all subscribers for now and you can select send now or schedule to send at a later date and time
- To schedule send the push notification, click on send later
- Select the time and date from the drop-down and click on send.
- Click on the grid icon to view the push notifications in the card view.
- Now let's look at how push notifications are appearing on the website.
Search
To instantly Search flows by name
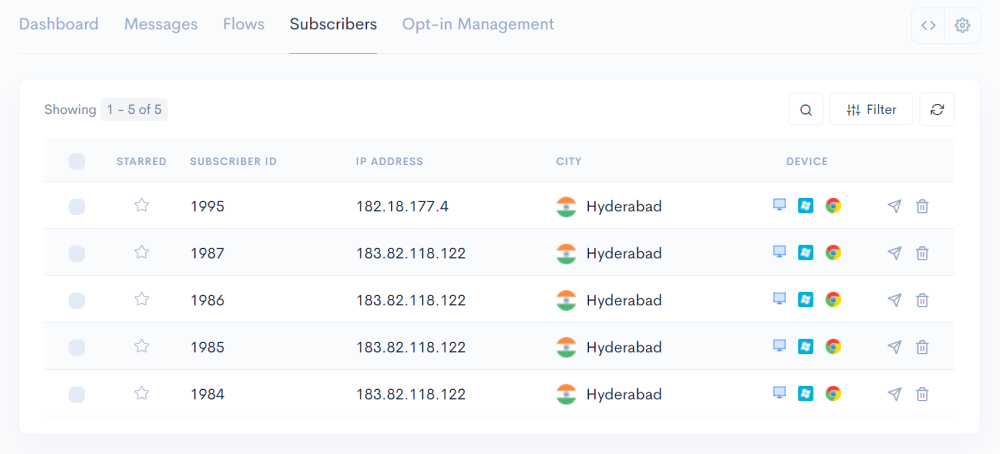
Subscribers
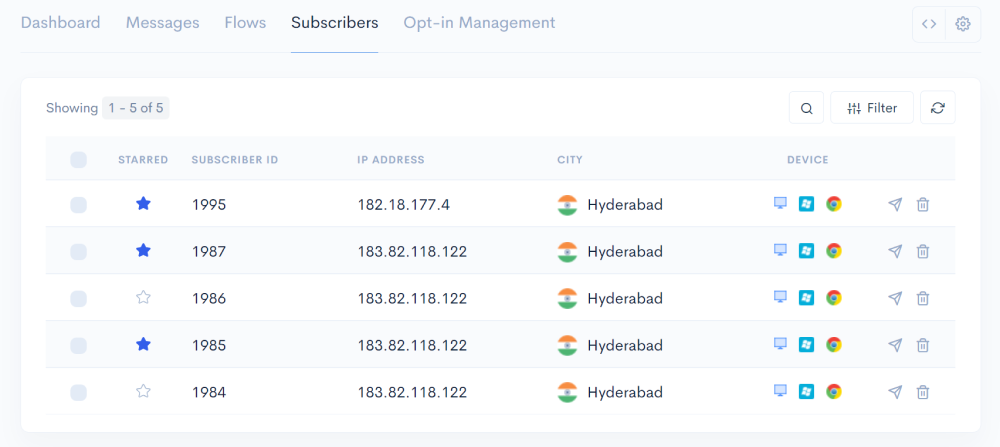
- PushNinja allows you to track and view the data of the subscribers who have opted for the push notifications
- Now click on the subscriber's tab
- Subscribers will be added up here as soon as your website visitors opt-in to the push notifications
- PushNinja assigns a subscriber id to each subscriber
- System also captures the subscriber's details like Ip address, city, device, operating system, and Browser.
- You can use these details to customize your drip campaigns
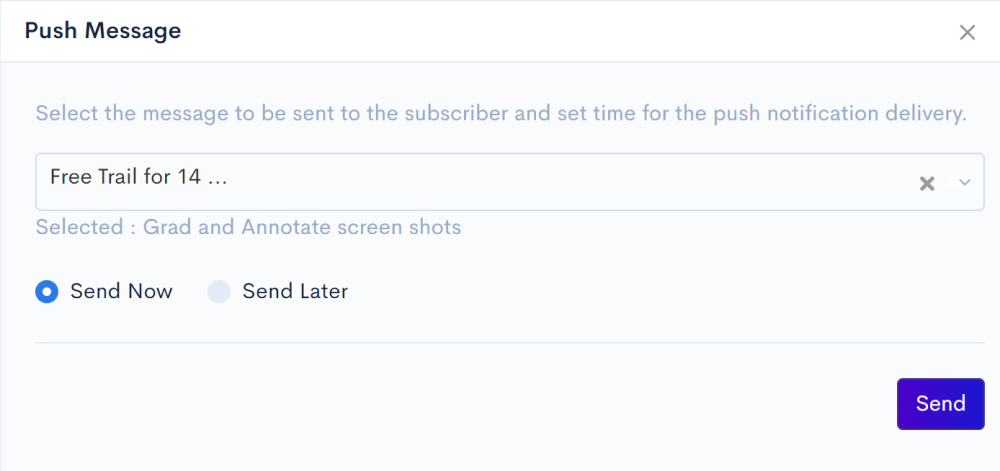
You can send other push notifications to the subscriber by clicking on the push message icon.
Select the push notification from the drop-down.
And you can also select send now or schedule to send at a later date and time.
- Select send later
- Select the time and date from the drop-down.
- And click on send
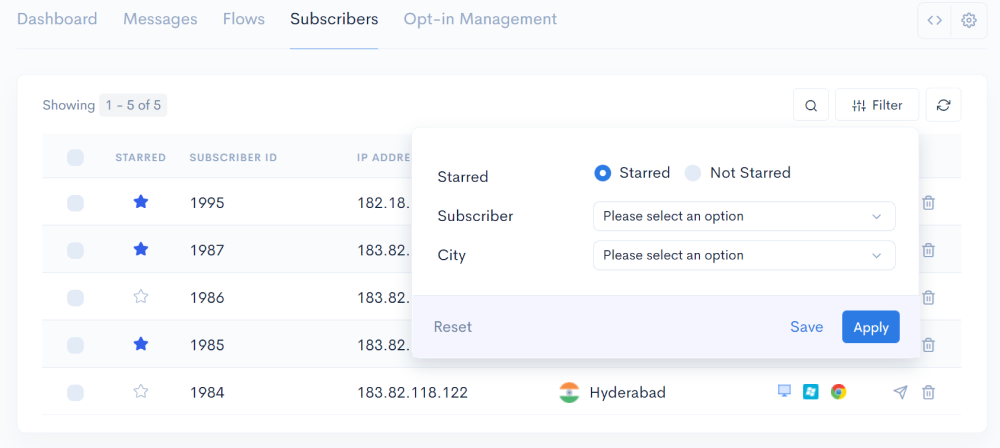
- You can add a star to tag the subscribers as an important
- Click on the starred icon
- You can use this as a filter to send push notifications directly to the subscribers.
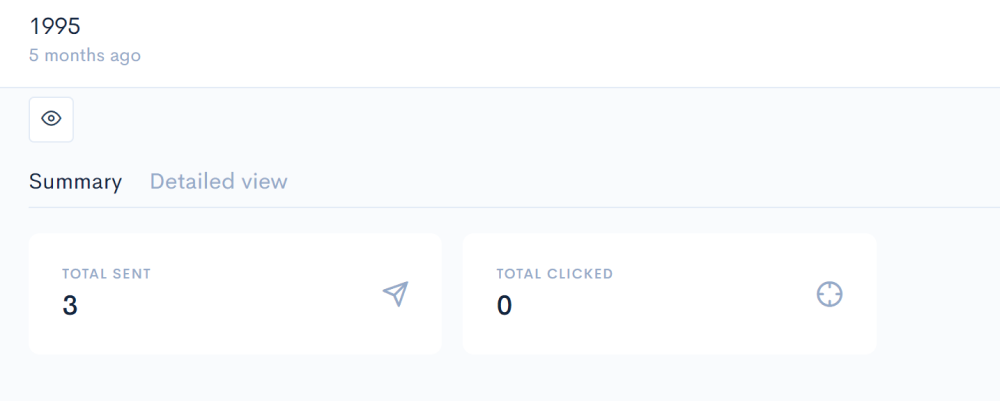
- Now let's look at the reports on the individual subscriber
- Click on the subscriber ID
- And in the slideout, you can view the details
- In the summary tab, we can see the number of push notifications that have been sent to the user
- And several push notifications have been clicked by the user.
- Click on the detailed view tab to see the detailed reports.
- Click on the preview icon to view the details which have been entered by the user using the custom fields.

Opt-in management
PushNinja is a global application and can be used in all countries, allowing its users to customize its opt-in management to increase the conversion so the pop-up.
Click on the opt-in management tab.
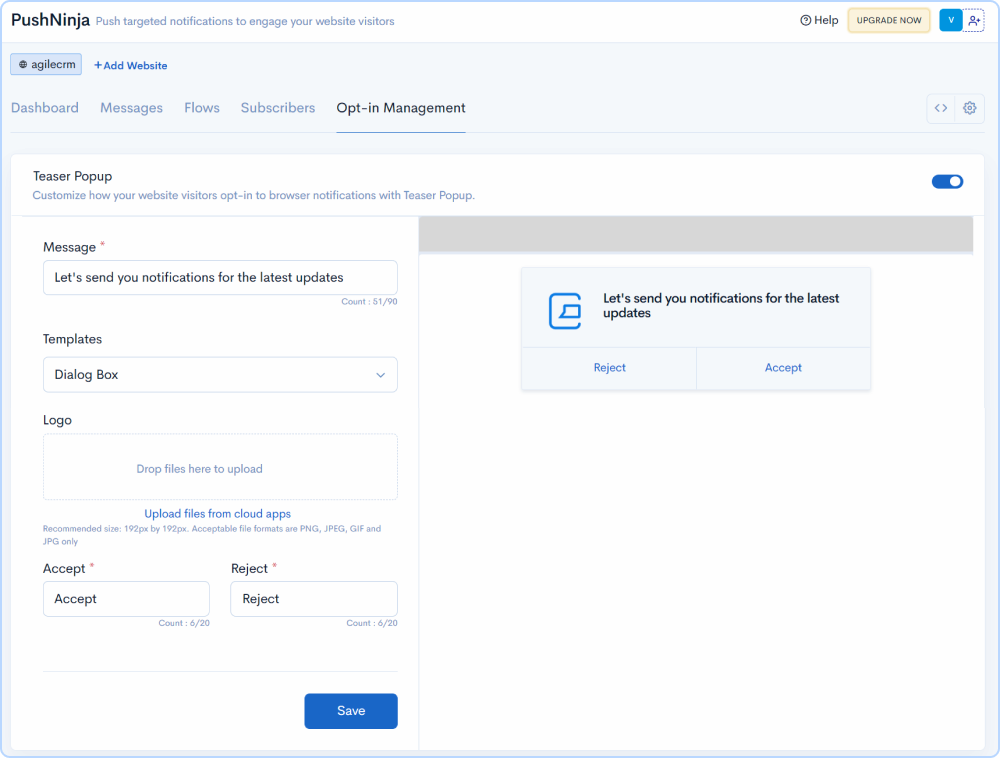
Teaser Popup
- First, let's look at the teaser popup,
- Teaser popups are opt-in pop-ups for browser notifications
- Click on the toggle button to enable the popup.
- Enter the welcome message in the field given
- You can see the preview of the push notification in real-time editing
- Select the templates from the dropdown.
- PushNinja provides a wide variety of designs
- You can also upload your company logo from the local computer or cloud apps using the field given.
- Enter the call to action buttons in the respective fields and click save.
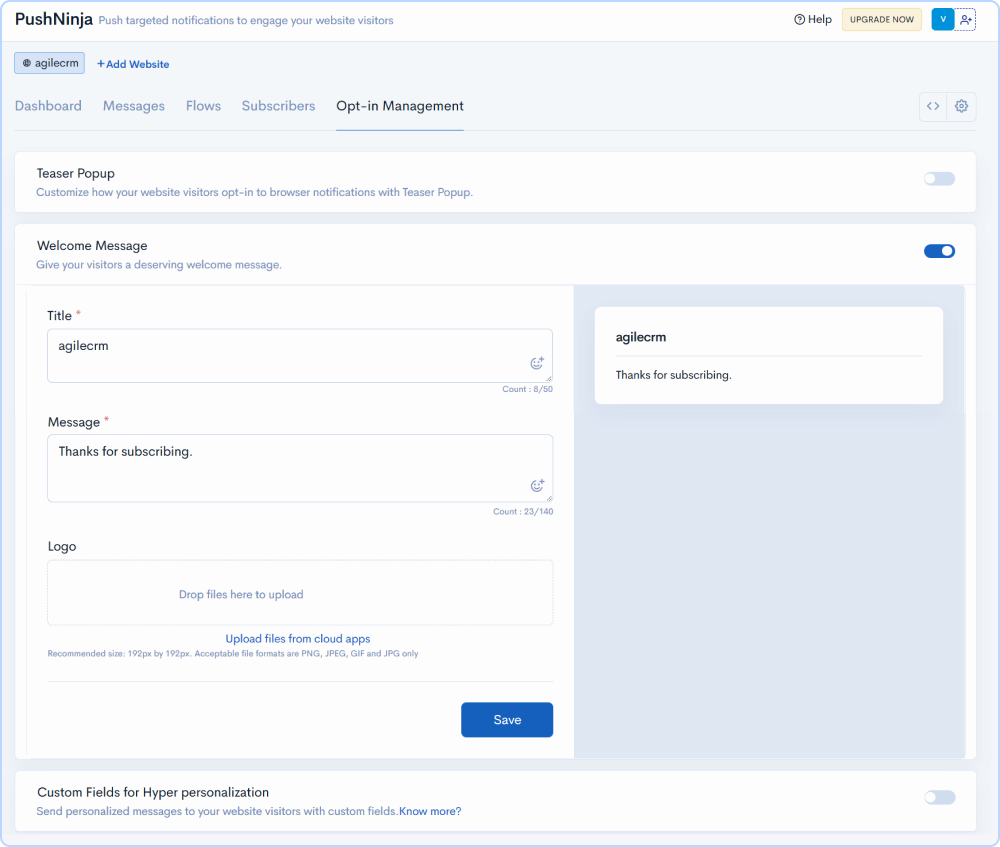
Welcome Message
- PushNinja provides the option to send welcome personalized messages to subscribers on opting to push notifications.
- Click on the toggle button to enable the popup.
- You enter the title and message for the welcome message in the fields.
- You can also upload your company logo from the local computer or cloud apps using the field given and click save.
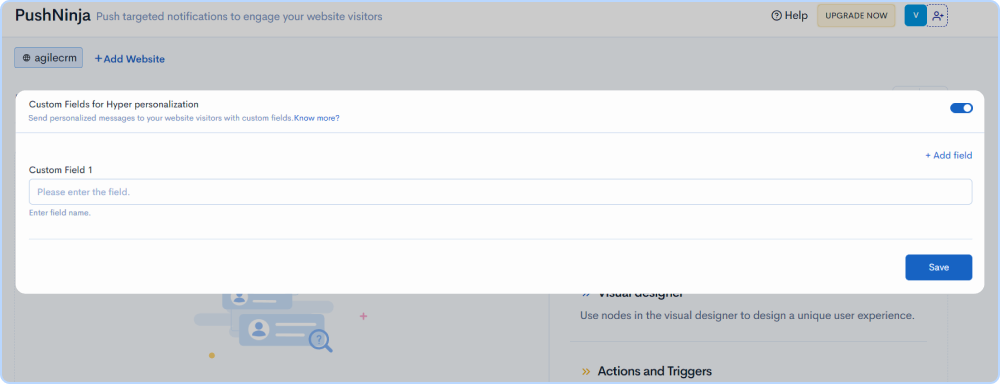
Custom fields for Hyper-Personalization
- PushNinja provides the option to collect custom data from subscribers.
- You can collect data using custom fields.
- Click on the toggle button to enable the custom fields
- Create a custom field like the name of your customer, and email address.
- You can create multiple fields by clicking on add field
- After you are done entering your custom fields, click on save.
- You can view the collected data in the subscriber tab.
Settings
Webhooks
PushNinja allows you to integrate your push notifications with third-party applications using webhooks
- Click on the gear icon.
- And select webhooks from the drop-down menu.
- You can copy and paste the webhook URL into the fields given
- Here there are two trigger actions, new subscriber and message click
- Paste the URL here and click on save.

Create and Automate Push Notifications for Free
Sign Up 14 Day Trial
